Console Table Scale Models and 3D Renders: Approving Design Before Production
A 3D render is a powerful tool for agreeing proportions and layout, but it is not a substitute for drawings or finish samples. This guide explains what each document is for and how to combine them into a safe approval routine.
Console table 3D render approval is the step where you confirm that the shape, proportions and details of a piece look right before the factory cuts any timber. A render is excellent for judging form and context, but it cannot confirm colour, grain or surface feel. For a hotel order, the safest approach is to treat renders, shop drawings and physical samples as three separate approvals that each answer a different question.
This guide is written for hotel owners, designers and procurement teams ordering custom wooden pieces from a factory overseas. We explain what a render can and cannot tell you, how to review one, and how to link it to the rest of the approval chain.
What a 3D render is good at
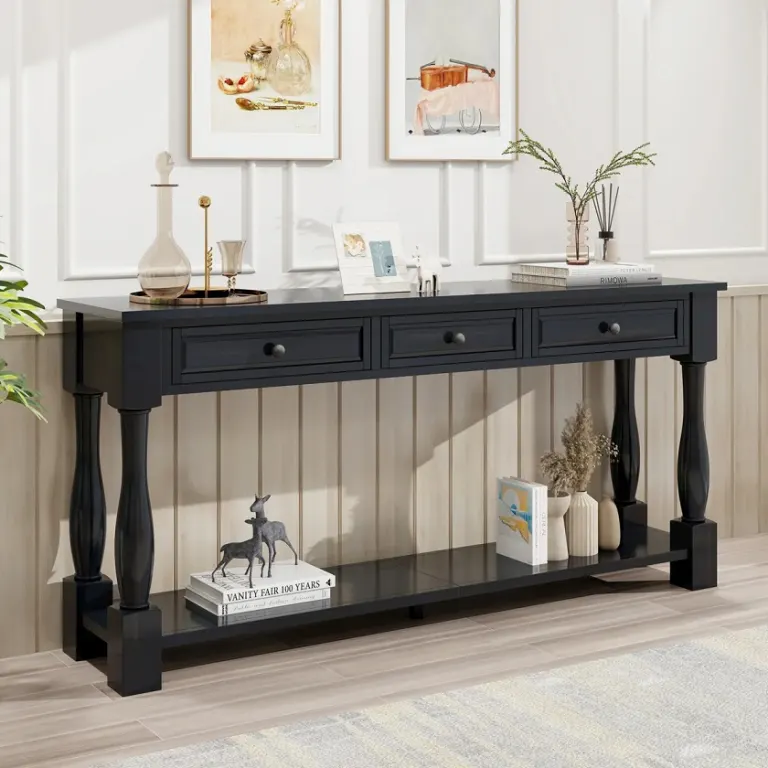
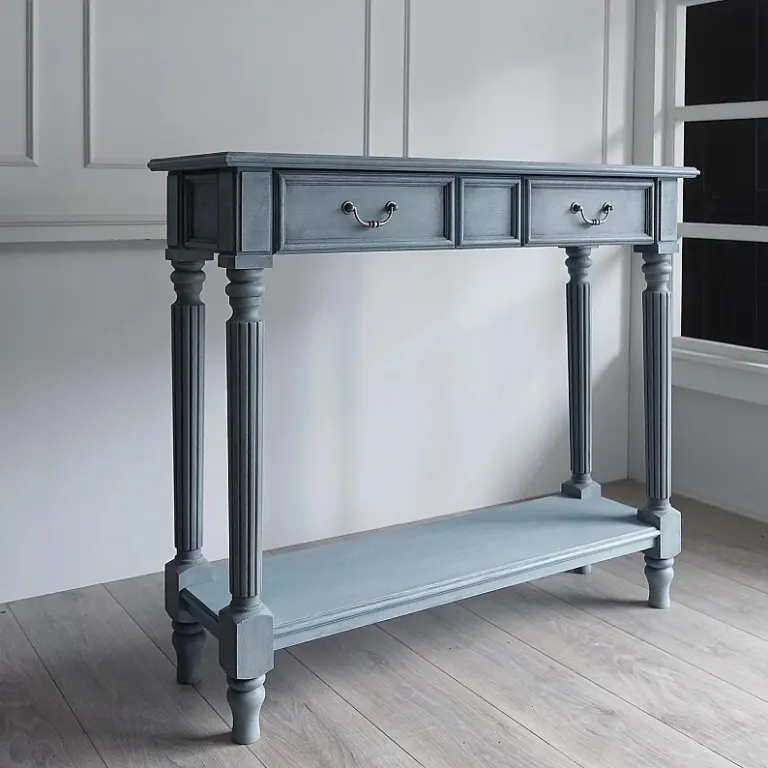
A render is a computer-generated image of the furniture, usually placed in a simple or detailed room setting. Its strength is speed: designers and owners can look at a piece from several angles without waiting for a prototype. For visualisation for hotel joinery and loose furniture alike, it is often the first time all parties see the same image.
Renders are particularly useful for checking:
- Overall proportion: the relationship between top thickness, leg width, height and length.
- Context: how the console sits against a wall, a mirror, a lamp or a doorway.
- Design intent: whether the shape, edge profile or leg style matches the concept the designer had in mind.
- Options: comparing two leg styles or two heights side by side before committing.
What a render cannot show
This is where most misunderstandings begin. A render looks photographic, so people assume the real piece will look identical. In practice, a screen image is a simulation, and several important qualities are only approximations.
Colour
Colour on a screen depends on the monitor, its calibration, the brightness setting and the software used to produce the image. The same file can look warmer on one laptop and cooler on a phone. A render can show a general direction, such as light oak or dark walnut, but it cannot be used to approve an exact stain or lacquer tone.
Grain and figure
Real timber and veneer vary from board to board. Software usually applies a repeating texture to the surface, which looks tidy but does not reflect the natural variation of the material. Cathedral patterns, straight grain, knots, mineral streaks and colour shifts between neighbouring boards will not appear as they will on the delivered piece.
Surface feel and sheen
Gloss level, brush-out effect, open-pore texture and the way light plays across an oiled surface are very hard to judge from an image. A matte lacquer and a satin lacquer can look almost identical on screen but feel and reflect light differently in a lobby.
Real-world tolerances
Renders show perfect geometry. Actual production involves small tolerances, visible joints and the natural behaviour of wood. A render is not evidence of how a joint will look at close range.
How renders fit with drawings and samples
Think of the approval process as three layers, each with its own job.
| Document | Answers the question | Does not confirm |
|---|---|---|
| 3D render | Does the design look right in its setting? | Exact colour, grain, sheen |
| Shop drawing | What are the dimensions, construction and details? | Visual appearance of the finish |
| Finish sample | Does the colour, grain and surface feel match expectations? | Overall proportion of the full piece |
If you approve only a render, you risk surprises in dimensions or finish. If you approve only a drawing, you may find the proportions feel different than expected once the piece is in the room. Using all three removes most of the guesswork.
Scale models and mock-ups
A scale model, made in card, foam or timber at a reduced size, sits between a render and a full prototype. It is useful when the shape is unusual, such as a curved or demilune console, because you can handle it and see how light falls across the form. It is not a finish sample, and it is not a substitute for a full-size prototype on high-value or high-volume orders.
For larger orders, a full-size prototype or a mock-up in the actual room is the most reliable way to judge scale against real walls, skirting boards and lighting. A render can reduce the number of prototype rounds, but it rarely removes the need for one entirely.
A practical review checklist for renders
When a factory or designer sends you a render, review it systematically rather than reacting only to the overall impression.
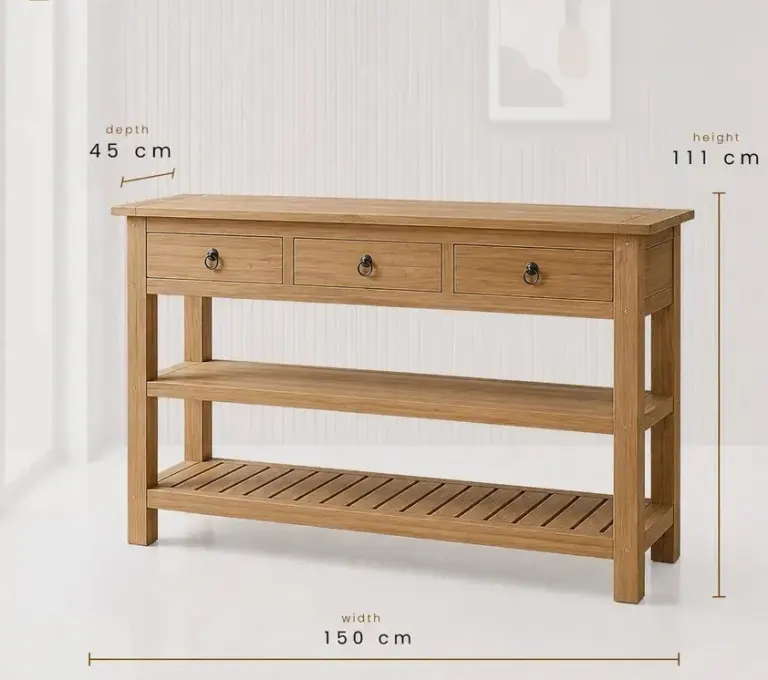
- Confirm the dimensions behind the image. Ask for height, depth and length to be stated on or alongside the render, in metric first (for example 80 cm (31.5 in) high).
- Check proportions at the edges. Look at top thickness, overhang and leg section, and compare them with the concept.
- Check the viewing angle. Wide-angle views can exaggerate depth and make a slim piece look deeper than it is. Ask for a front elevation and a side view as well.
- Review the context. Make sure the wall, floor and lighting in the render are broadly similar to your project, not an idealised scene.
- Note the finish references. The render should state the intended timber species and finish type, even though the colour is only indicative.
- List the open points. Write down anything the render does not settle, such as hardware, cable cut-outs or edge detail.
Setting up a clean approval routine
The aim is to make each approval specific, so that nobody later says they approved something the document could not show. A simple structure works well for orders shipped worldwide.
Step 1: Concept render
The factory or designer produces a render based on your brief, reference photo or sketch. At this stage you comment on form and proportion only.
Step 2: Shop drawing
Once the form is agreed, the shop drawing fixes dimensions, joinery, thickness, hardware and tolerances. This is the technical reference for production.
Step 3: Finish sample
A physical sample in the chosen timber and finish is approved in the lighting conditions of the project. If you want to understand how stain approval works across a large batch, our related guidance on colour matching covers it in more detail.
Step 4: Written sign-off
Record which document was approved for which attribute: render for form, drawing for dimensions, sample for colour and grain. A short written confirmation by email is usually enough and avoids disputes later.
Common mistakes when relying on renders
- Approving colour from the screen. Always use a physical sample for final colour and sheen decisions.
- Skipping the side view. Depth problems are often invisible in a front-facing image.
- Ignoring the wall behind. Skirting boards, sockets and uneven walls rarely appear in renders but affect fit.
- Treating a render as a contract drawing. It illustrates intent; the shop drawing governs production.
- Changing the design after approval. Revisions after production starts affect cost and lead time, and they are much easier to make at render stage.
Timing and cost considerations
Render work is usually quicker and cheaper than building a prototype, which makes it a sensible first step when several options are still open. The time needed depends on how complete your brief is, how many revision rounds you request and how fast your team responds. We do not quote fixed durations here because they depend on the project, but providing clear dimensions, a reference image and a finish preference at the start shortens the process noticeably.
Where a piece will be repeated across a whole hotel, spending extra time at this stage is worthwhile. A small correction on one render costs very little; the same correction after a batch has been produced affects every piece.
How we work with renders at Palmiye
We produce custom wooden furniture to project drawings in our own factory in Istanbul and ship to hotel projects in many regions. When a client sends a sketch, photo or CAD file, we can prepare a visual for discussion, then move to shop drawings and finish samples. Each step has its own approval so that everyone knows what has been agreed before production begins.
Conclusion
A render is a valuable communication tool, not a final proof. Use it to agree form and context, use drawings to fix dimensions and construction, and use physical samples to approve colour, grain and surface feel. Combining all three gives you a reliable approval chain and fewer surprises when the pieces arrive.
If you are planning a console table order, send us your sketches, drawings or reference images. We will review them and come back with questions, a suggested approval route and a quotation for your project.
Sıkça Sorulan Sorular
Can I approve a console table finish from a 3D render?
No. Screen colour varies with the monitor, and software textures do not reflect real grain variation or sheen. Use a render to agree shape and proportion, then approve colour and surface feel from a physical finish sample viewed under the lighting of your project.
What is the difference between a render and a shop drawing?
A render is an image that shows how the piece will look in context. A shop drawing is a technical document with dimensions, joinery, materials and hardware details. The render illustrates intent, while the shop drawing governs what the factory actually builds.
Do I still need a prototype if I have approved renders?
Often yes, especially for large batches or unusual shapes. Renders reduce the number of revision rounds, but a physical prototype or sample confirms proportion in real space, finish quality and joinery. The need depends on order size, complexity and your own risk tolerance.
What information should I send to get a render made?
Send a sketch, reference photo or CAD file, the intended dimensions, preferred timber and finish type, and the room or wall setting. The clearer your brief, the fewer revision rounds are needed before the design moves on to shop drawings.
Why does wood grain look different in real life than in a render?
Rendering software usually applies a repeating digital texture, while real timber and veneer vary board to board. Cathedral patterns, knots, mineral marks and colour shifts occur naturally and cannot be predicted exactly, so a physical sample is the better reference.
Every hotel project is different. Send us your drawings or room schedule for a tailored proposal on materials, lead time and shipping.