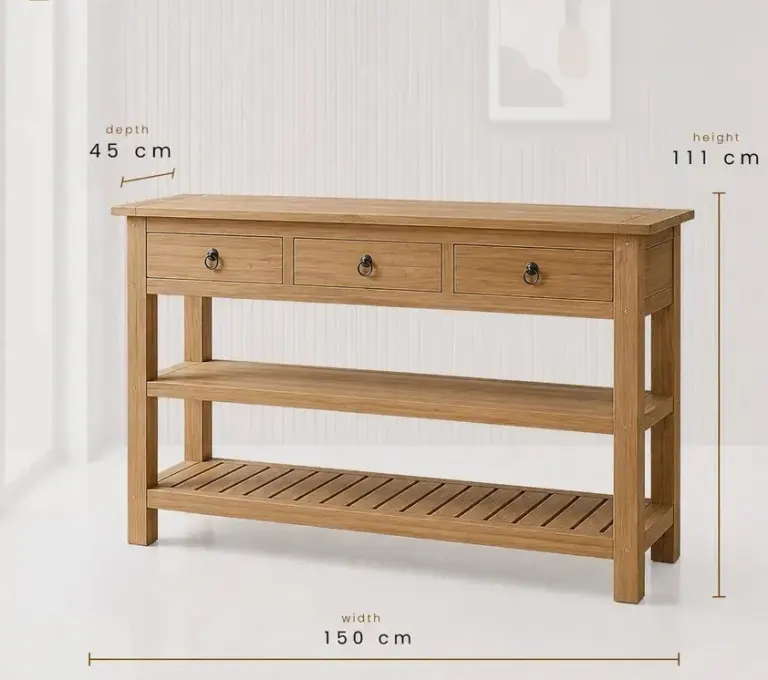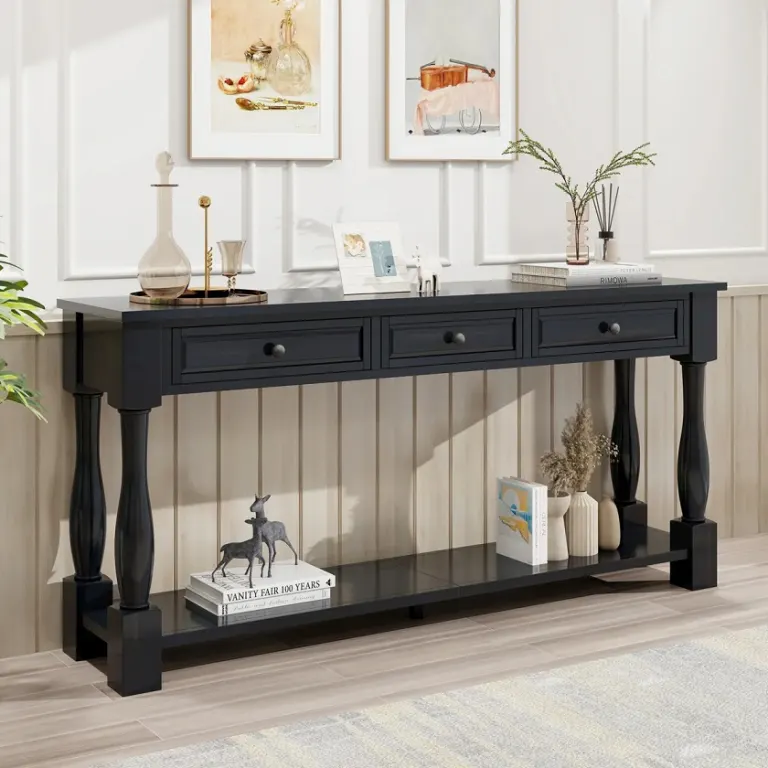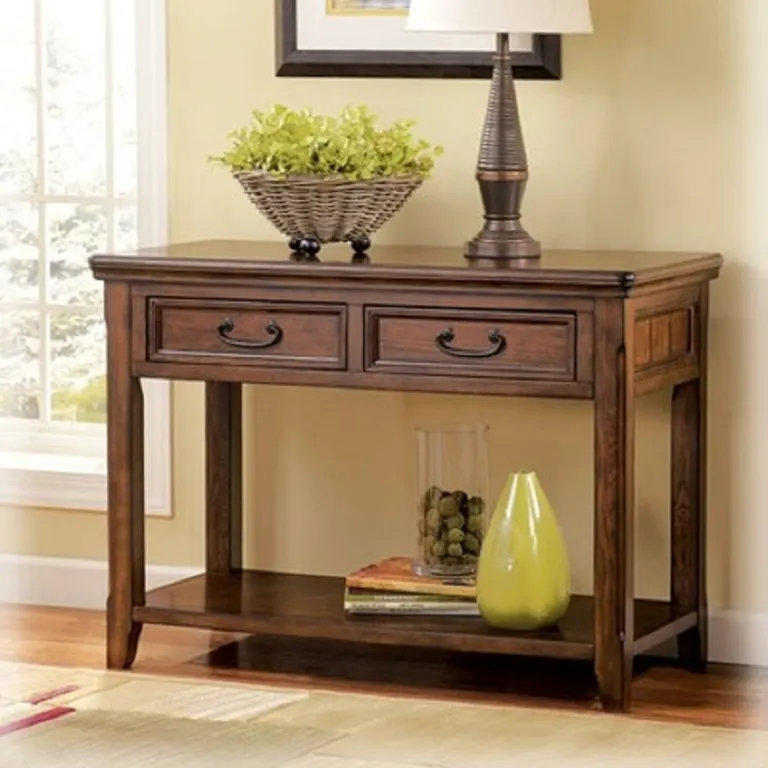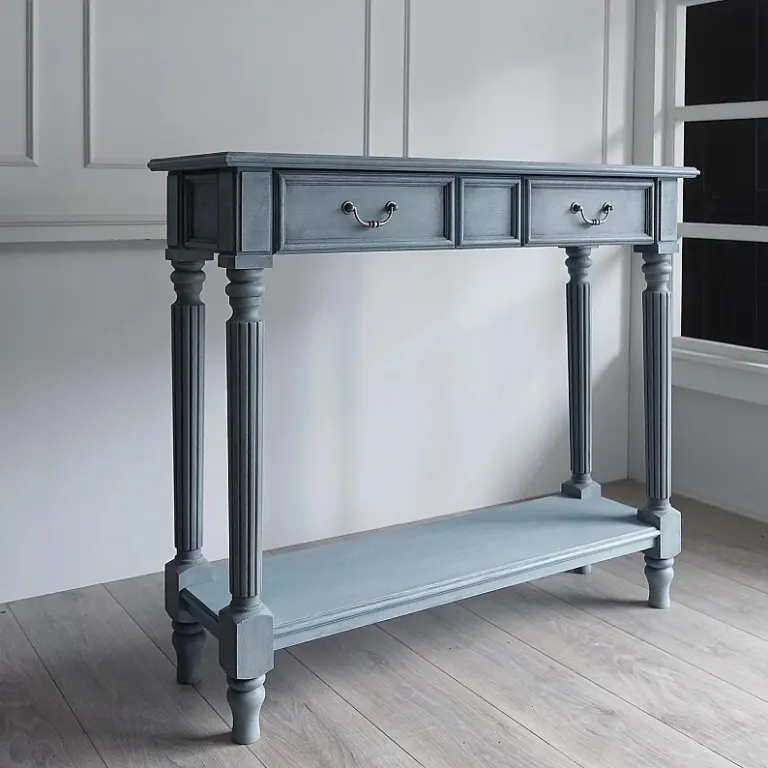
Console Table Back Panels and Wall Contact: Protecting Walls and Hiding Cables
The rear edge of a console table is where design meets the building. This guide explains upstands, scribing, wall clearance and cable cut-outs so your hotel pieces fit cleanly and protect the walls behind them.
A console table back panel is a vertical strip or board fixed to the rear of the top, or a full-height panel behind the piece. Its job is simple: it protects the wall from scuffs, liquids and housekeeping damage, and it gives you a tidy route for cables. In hotels, where walls are repainted rarely and corridors are used all day, this small rear detail often decides how good a console looks after two years of service.
This article looks only at the point where the table meets the wall. If you are specifying custom pieces for a hotel, restaurant or villa project, these details should appear on your drawings before production starts.
Why the rear detail matters
Most console table photos show the front. Yet the rear is where several problems start: dark marks on paint, gaps against skirting, trailing cables and tables that rock because they touch an uneven wall. A well-resolved back panel addresses all of these in one component.
- Wall protection: prevents paint and wallpaper damage from vacuum cleaners, luggage and cleaning sprays.
- Visual finish: closes the gap between the top and the wall so dust and small objects do not fall behind.
- Cable management: hides lamp, charger and TV cables.
- Fit tolerance: absorbs small wall irregularities through scribing.
Types of console table back panel
Upstand (low back strip)
An upstand is a short strip, usually 30 to 100 mm (1.2 to 3.9 in) high, running along the rear edge of the top. It works like a small backsplash and is the most common choice for console tables in corridors and entrances. A backsplash console table of this type is easy to clean and protects the lower wall zone where splashes and bumps occur.
Full-height or half-height back panel
A taller panel, sometimes reaching 300 mm (11.8 in) or more, turns the console into a small wall feature. It suits lobbies and suites where the table sits under a mirror or artwork. The panel can be veneered, lacquered, or fitted with a mirror, stone or fluted face. Make sure the weight is considered if the piece will be fixed to the wall.
Open back with a rail
Some slim designs use only a rear rail to stiffen the frame. This looks light, but it gives the wall no protection. It is better suited to low-traffic areas or pieces that stand a few centimetres away from the wall.
Comparing the options
| Option | Wall protection | Cable hiding | Best used in |
|---|---|---|---|
| Low upstand | Moderate, covers the bottom wall zone | Limited, needs a notch | Corridors, entrances |
| Half or full-height panel | High | Good, with cut-out or channel | Lobbies, suites, restaurants |
| Open back with rail | Low | Poor | Low-traffic or decorative areas |
Scribing: making the table fit a real wall
Walls are rarely perfectly straight or plumb, and skirting boards add another variable. Scribing means shaping the rear edge of the back panel, or adding a thin scribe strip, so that it follows the wall surface. The result is a close joint instead of a visible gap.
Scribing works best when it is planned. Ask the factory to leave extra material, typically a few millimetres, on the rear edge of the upstand, so it can be trimmed during installation. For repeated hotel corridors, one field measurement per wall type is often more useful than assuming all walls match the drawing.
Dealing with skirting boards
If the skirting is taller than the table's rear leg setback, the piece will not sit flush. You have three common options:
- Set the table forward by the depth of the skirting, accepting a small gap.
- Notch the back panel or legs to wrap around the skirting.
- Use a taller leg detail so the table top clears the skirting entirely.
Notching looks neat but must be measured accurately. Provide skirting height and projection on your brief, because these two numbers change the design.
Cable cut-outs and routing
Modern hospitality consoles often carry table lamps, phone chargers and sometimes a screen. A cable cut-out console design gives these cables a discreet route to the wall socket, instead of trailing across the top and down the front.
Common cut-out solutions
- Round grommet hole: a hole in the top, usually 40 to 60 mm (1.6 to 2.4 in), near the rear edge, with a plastic or metal insert.
- Slot in the upstand: a vertical notch that lets a plug pass through the back panel.
- Rear channel: a groove behind the back panel that carries cables down to a floor-level socket.
- Open gap: a small deliberate gap between the panel and the top for flat cables.
Place openings away from the centre of the table if the design is symmetrical, unless the socket is there. Check where wall sockets sit before you finalise the position, and confirm that the cable will not be pinched when the table is pushed back to the wall.
Safety and compliance points
Power points and cables near timber must follow local electrical rules, and your electrical contractor should approve the final routing. Wood edges around holes should be sealed and smooth, so cables are not cut over time. Where fire rules apply to corridor furniture, check the requirements of the destination country early, as they can affect materials and clearances.
Materials and finishes for the rear zone
The back panel is hit by cleaning sprays, hot lamps and bags. Choose finishes that match the front but think about the rear separately.
- Veneer with protective lacquer: consistent with the table front and easy to wipe.
- Solid wood upstand: robust and can be re-sanded, but needs good grain and moisture control.
- HPL or laminate faces: practical in service areas, less common in premium lobbies.
- Stone or glass splashback: suits restaurants and bars, but adds weight and fixing considerations.
Seal all rear edges, including cut-out edges. Unfinished edges absorb moisture and can swell, particularly in humid climates.
Wall fixing and stability
A back panel can also act as a fixing point. A rear fixing rail or hidden bracket lets installers secure the piece to the wall, which reduces tip-over risk and keeps the piece tight against the surface. Know the wall type, such as masonry, plasterboard or drywall with a backing board, because fixings differ. If your wall construction is uncertain, ask the contractor to confirm before drawings are signed off.
What to include in your brief or drawing
Because we produce to order and export worldwide, the rear detail should be written into your project drawing, not left to assumption. A clear brief usually includes:
- Upstand or back panel height, thickness and material.
- Skirting height and projection, and whether to notch or set forward.
- Scribe allowance on the rear edge.
- Position and size of cable cut-outs, with socket locations.
- Wall type and fixing method.
- Finish and edge sealing requirements.
A section drawing through the back of the table, showing the wall, skirting and panel, avoids most misunderstandings. If you only have a photo or sketch, we can help turn it into a shop drawing for your approval.
Check it in the sample or mock-up
The rear detail is easy to miss on a sample that stands in a showroom. Whenever possible, place the sample against a real wall or a mock-up wall with skirting and a socket. Check cable movement, cleaning access behind the piece, and how the panel meets the wall. Small changes, such as moving a cut-out by 30 mm, cost very little at sample stage.
Planning delivery and installation
For export orders, back panels are often delivered fixed, but tall panels or stone upstands may ship separately to reduce damage risk. Agree this with your factory and installation team, as it affects packing, site labour and the order of work. Mark each piece to its location so that scribed pieces return to the correct wall.
Conclusion
The console table back panel is a small component with a large effect. It protects walls, solves skirting conflicts and organises cables, and it is far easier to specify before production than to fix on site. If you are planning a hotel, restaurant or residential project, send us your drawings, wall details and socket positions, and we will propose a rear detail that fits your space and quote your project.
Sıkça Sorulan Sorular
What is the purpose of a console table back panel?
A back panel protects the wall from scuffs, liquids and cleaning damage, closes the gap behind the top and can hide cables. In hotels it also keeps dust and small items from falling behind the table, which makes housekeeping easier.
How high should a console table upstand be?
Many upstands are between 30 and 100 mm (1.2 to 3.9 in), but the right height depends on the design and the wall. Taller panels give more protection and suit feature pieces. Confirm the height on the drawing with your designer and manufacturer.
How do you fit a console table against a skirting board?
You can set the table forward, notch the back panel or legs around the skirting, or raise the top so it clears the board. Share skirting height and projection with the factory, because these measurements decide which solution looks neat.
Where should a cable cut-out be placed on a console table?
Place it near the rear edge, close to the wall socket and the item being powered. Common solutions are a grommet hole, a notch in the upstand or a rear channel. Check socket positions and electrical rules with your contractor.
Can you make console tables with back panels to order for overseas projects?
Yes. We produce to project drawings and ship worldwide. Send your dimensions, wall and skirting details, finish and cable requirements, and we will prepare shop drawings and a sample or mock-up for approval before production.
Every hotel project is different. Send us your drawings or room schedule for a tailored proposal on materials, lead time and shipping.