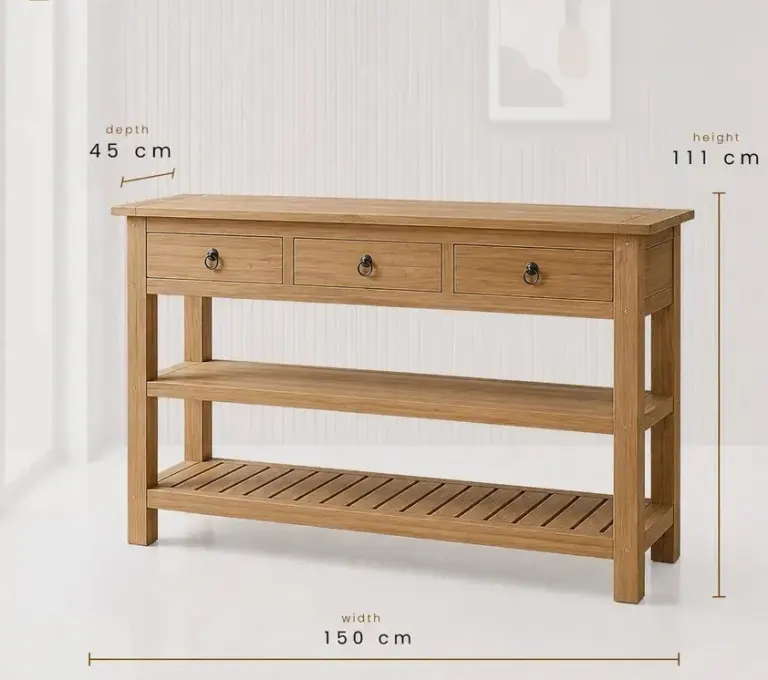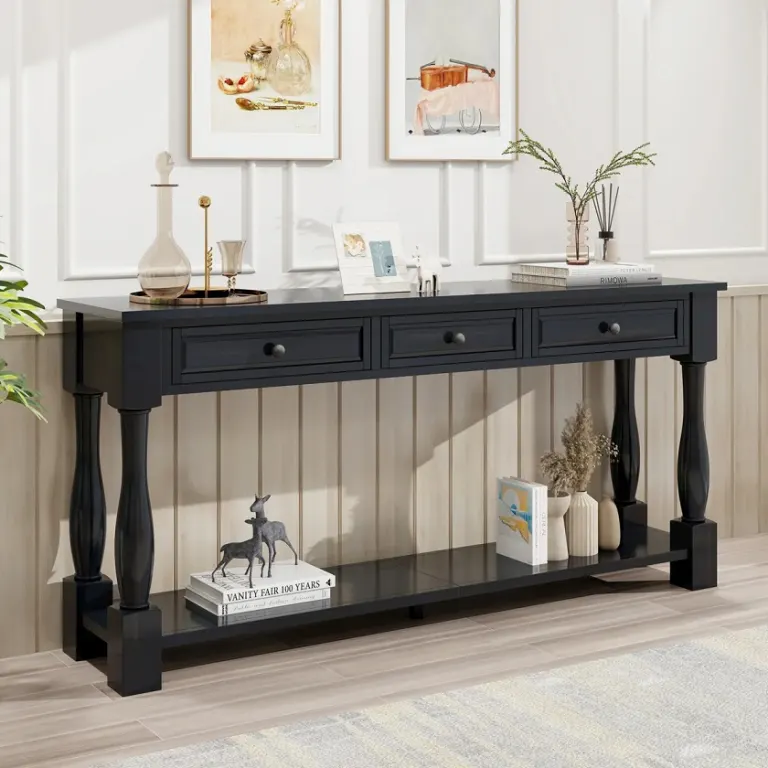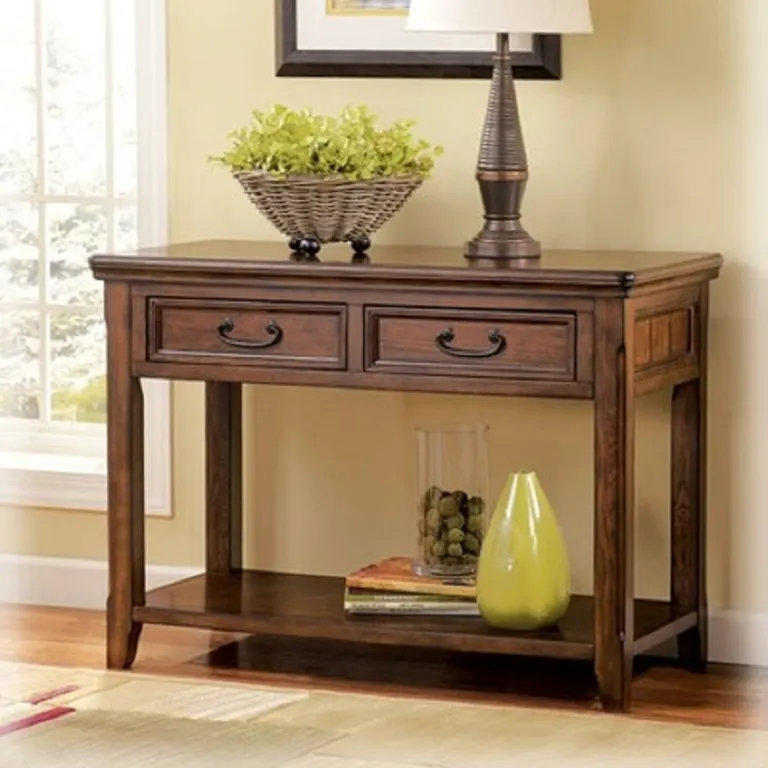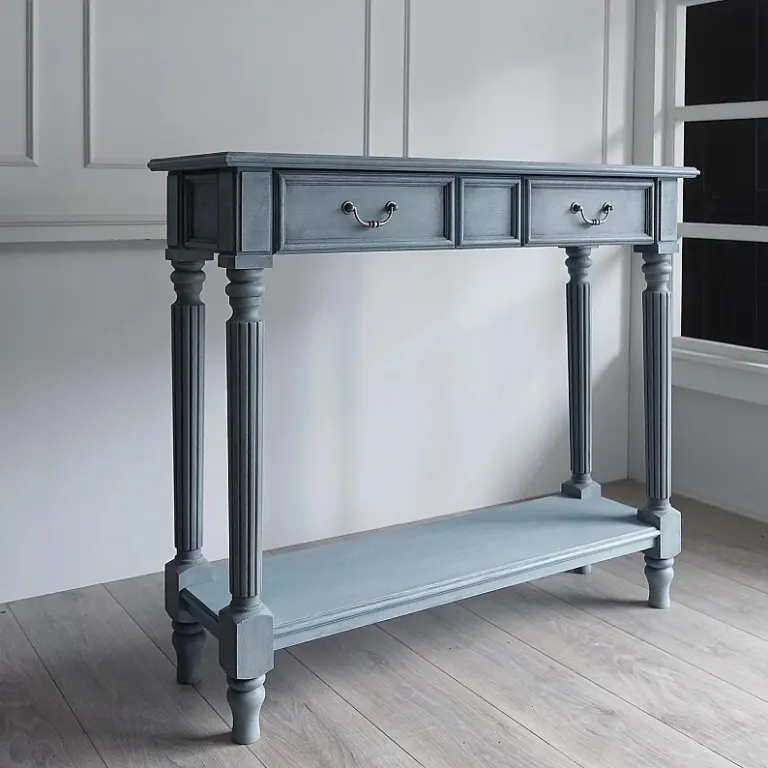
Console Table Cable Cut-Outs and Grommets: Planning Power Access in Hotel Entry Pieces
A console table cable cut-out looks like a minor detail, but its size, position and grommet type decide whether power access works in daily hotel use. This guide covers the machining details that drawings often leave out.
A console table cable cut-out is the opening that lets a lamp, charger or small device cable pass through the top or back panel of a wooden piece. In hotel entry areas this small hole is often added late, drawn as a simple circle, and then questioned on site when the plug does not fit through. This guide explains the size, grommet type and placement details you should put on the drawing before production starts.
The focus here is on machining, not on electrical design. Your electrical consultant decides where power is needed; the points below help you tell the factory exactly how the opening should be made.
Why the cut-out deserves its own drawing note
Most console table drawings show overall dimensions, leg details and finish codes. The cable opening is typically a small symbol with no tolerance, no edge treatment and no information about what passes through it. As a result, the factory has to guess, and guesses vary from one supplier to another.
Treating the cut-out as a defined component avoids three common problems:
- Holes that are too small for plugs, so staff enlarge them on site with hand tools.
- Raw, unsealed edges that absorb moisture and chip around the opening.
- Openings placed where a drawer, rail or stone support blocks access underneath.
Start with what has to pass through the opening
The right hole size depends on the largest item that must go through, not on the cable itself. A thin lamp cable is easy, but the plug head is usually the limiting dimension. Decide early whether the plug will be pulled through from above or fed from below.
Typical items to consider
- Table lamp cable: usually a slim round cable, but with a moulded plug at one end.
- USB charging lead: small cable, yet the connector head can be wider than expected.
- Multi-cable bundle: for example a lamp plus a charging lead, which needs a larger opening or two separate holes.
- Power adapter or transformer: normally stays hidden below the top, so only the low-voltage lead passes through.
Plug types differ by country. Because we supply projects worldwide, it is worth stating the destination plug standard on the drawing so the opening is checked against the real plug head.
Choosing the cut-out size
As a general rule, the opening should be slightly larger than the biggest item passing through, with the grommet body fitting the hole snugly. Common round openings for cable grommets are in the range of 35 to 60 mm (1.4 to 2.4 in), but the correct figure always comes from the grommet you select, not from a standard table.
Give the factory the grommet product data or a physical sample. The hole diameter is then matched to the grommet's body, and the flange diameter is checked so it sits flat on the surface without overhanging the table edge.
Round, oval or slot openings
| Opening type | Best use | Points to check |
|---|---|---|
| Round hole | Single lamp or charger cable | Easy to machine; plug head must still fit |
| Oval hole | Two cables side by side | Needs a matching oval grommet; corners need clean radii |
| Rectangular slot | Flat cables or several leads | Internal corner radius depends on the router bit; sharp corners are not possible |
| Edge notch at the back | Console against a wall | Cable is visible from the side; edge needs sealing |
Grommet types and what they mean for the build
The grommet is the part guests actually see, so it should be chosen together with the finish. The main options are listed below.
- Plastic cap grommet: economical, available in black, white or grey, with a hinged or removable cover. Suitable where the top is dark or the opening sits at the back.
- Metal grommet (brass, black steel or brushed finish): pairs well with metal accents on the frame. It needs a consistent finish colour across the order.
- Brush or flap grommet: closes the opening to keep dust out while the cable passes through.
- Wood or matching-finish insert: a custom turned ring that blends with the top. It looks refined but adds machining time.
Whichever type you choose, confirm whether the grommet is pressed in, screwed or glued. A press-fit insert in veneered board needs a tighter tolerance than a screwed flange.
Placement: the detail drawings often miss
Position is where most site problems start. Dimension the cut-out from two fixed edges, usually the back edge and one side edge, and show it on the plan view.
Points to check on the plan
- Distance from the back edge: keep enough material between the hole and the edge so the top does not weaken or chip.
- Alignment with the wall socket: if the socket is behind the console, the cable path should be short and straight.
- Clearance below the top: check that a rail, drawer box or shelf does not sit directly under the opening.
- Stone or glass tops: holes in these materials are drilled or cut before finishing and cannot be adjusted later, so the position must be fixed at the approval stage.
For wall-mounted floating models, the cable can often run through the back panel into the wall cavity instead of the top. This depends on the wall build-up and the electrical contractor, so agree it before the shop drawings are signed off.
Edge finishing and protection
A cut edge exposes the board core or the open grain of solid wood. If it is left unsealed, moisture from cleaning cloths and humid air can swell the material around the hole over time.
Ask the factory to confirm how the opening edge is treated:
- Sanded to a smooth radius, not left with sharp router edges.
- Sealed with the same finish system as the visible surfaces, including oil or lacquer coats inside the hole.
- On veneered boards, edge-banded or lipped where the cut-out is visible, to avoid exposed core.
These steps cost very little compared with refinishing a damaged top after delivery.
Cable management below the top
The opening is only the entry point; the cable still needs a tidy path. Consider a few simple provisions inside the piece:
- A cable clip or channel on the underside or rear rail.
- A small shelf or recess to hold an adapter, with ventilation if the device warms up.
- A rear notch or open back so the cable can reach the wall socket without bending sharply.
Keep in mind that power devices must be installed and certified according to the rules of the destination country. We machine the openings and fixings; the electrical connection and compliance remain the responsibility of your electrical contractor.
What to include on the drawing
Use this short checklist when briefing the factory on any console with power access:
- Hole shape and diameter, or slot length, width and corner radius.
- Position dimensioned from two fixed edges, shown on plan.
- Grommet model, material and colour, with a product sheet or sample.
- Fixing method for the grommet: press-fit, screw or glue.
- Edge treatment and finish inside the opening.
- Cable path below the top and any clips or channels.
- Destination plug type, if the plug head affects hole size.
Approve it on the sample
The most reliable way to confirm all of this is to check it on a sample or mock-up piece. Plug in the actual lamp or charger, pull the cable through, and test how the cover closes. It takes a few minutes and often reveals a small adjustment that is easy to make before production but awkward afterwards.
Next step
If you are planning console tables with power access for a hotel entry, send us your drawings or a reference photo together with the grommet details you have in mind. We will review the opening size, placement and finish, and come back with suggestions for your project. We produce to order and ship worldwide, so the destination plug standard and shipping terms can be discussed at the same time.
Sıkça Sorulan Sorular
How big should a console table cable cut-out be?
The size depends on the grommet and the largest item passing through, usually the plug head. Many round grommets need holes of roughly 35 to 60 mm (1.4 to 2.4 in), but you should confirm with the actual product data or a sample before finalising the drawing.
Can a cable cut-out be added after the console table is finished?
It is possible on some wooden tops, but it is not recommended. Cutting a finished surface risks chipping and leaves unsealed edges. On stone or glass tops it is generally not practical, so decide the position at drawing approval.
Which grommet type suits hotel entry consoles?
Plastic cap grommets are economical and hardwearing, while metal or matching-finish inserts look more refined. Brush grommets help keep dust out. Choose the type together with the top finish and confirm the fixing method with the factory.
Where should the cable opening be placed on a console table?
Usually near the back edge, in line with the wall socket or cable route. Dimension it from two fixed edges and check that no rail, drawer or shelf sits directly below it. For wall-mounted pieces, a back panel opening may work better.
Do you supply the electrical parts with the console table?
We machine the openings, fit grommets and prepare cable paths to your drawings. Electrical devices and wiring must follow the rules of the destination country and are normally supplied and connected by your electrical contractor. Please discuss the scope with us when you send the project details.
Every hotel project is different. Send us your drawings or room schedule for a tailored proposal on materials, lead time and shipping.