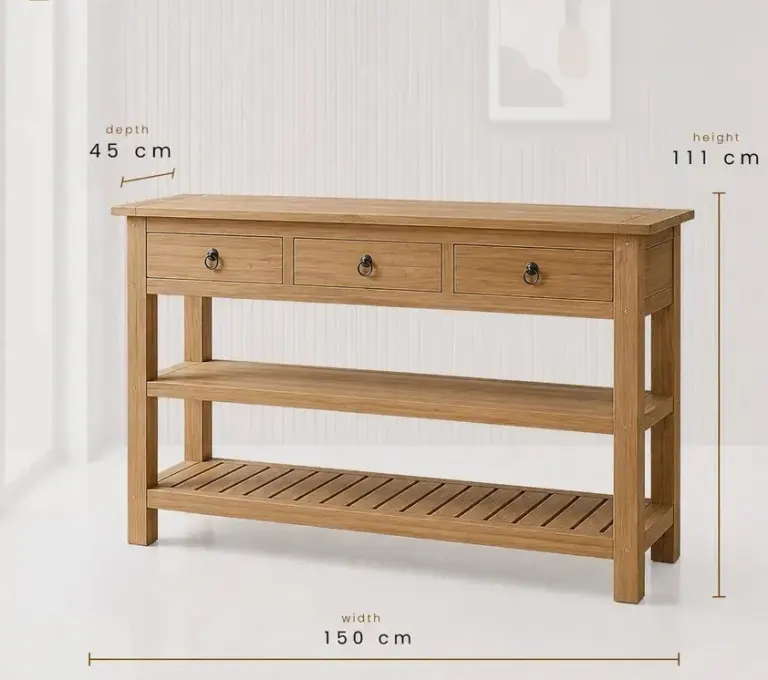
Console Table Selection for Hotel Renovations: Reusing Existing Wall Fixings and Electrical Points
In a hotel refurbishment, the smartest console table is the one designed around what the wall already contains. This guide explains how to survey, brief and approve made-to-order consoles that reuse existing sockets and fixings without rework.
Getting the console table renovation fit right starts with a simple principle: in a refurbishment, the building is fixed and the furniture is the variable. Walls, sockets, switches and fixing points already exist, and moving them costs more than adjusting a console design. If you design the piece around the services you have, you avoid chasing walls, redecorating and delayed installation.
This guide is written for owners, designers and contractors planning renovation projects. It covers how to survey existing conditions, how to turn them into a clear brief for a factory, and how to check the result before mass production. We manufacture to project drawings in Istanbul and supply hotel projects worldwide, so the advice reflects what a made-to-order workflow needs from you.
Why renovations behave differently from new builds
In a new hotel, the console position and the electrical points can be coordinated on the same drawing before anything is built. In a renovation, the services were placed for a previous layout, often by a previous designer, and rarely match what you now want.
This creates three typical problems:
- Sockets sit at a height or position that a standard console top or back panel would cover.
- Old wall fixings, brackets or plugged holes sit where the new piece needs to be fixed.
- Walls are out of plumb, skirting boards are deep, and floors are uneven.
Each of these can be solved on paper at low cost. Solved on site, they usually mean cutting furniture, patching walls or reordering parts.
Step 1: Survey the existing conditions
A good survey is the foundation of every retrofit furniture layout. Do not rely on the original architectural drawings, because they often differ from what was actually built or later altered.
What to record for each console location
- Wall width between corners, doors, columns or other furniture, measured at floor level and at table height.
- Position of every socket, switch, data outlet, thermostat or alarm device, measured from the nearest corner and from the finished floor.
- Skirting board height and projection from the wall face.
- Wall type, such as masonry, plasterboard on studs or panelling, since this determines fixing methods.
- Floor level variation along the wall, checked with a spirit level or laser.
- Existing fixing holes, concealed pipes or cables that you must avoid when drilling.
Take photographs with a tape measure visible in the frame, plus a simple sketch with dimensions. A phone photo of each wall alone is not enough for production, but combined with measurements it helps the factory spot risks you may have missed.
Survey a sample of rooms, not just one
Older hotels rarely repeat perfectly. Measure at least a few rooms or locations from each floor or wing, and note the variations. If the differences are small, one design with adjustable details can cover all of them. If they are large, group the locations into two or three variants.
Step 2: Decide whether to reuse or relocate each service
Not every existing point should be kept. Treat each one as a decision rather than an assumption.
| Situation | Usually better to | Why |
|---|---|---|
| Socket sits within the console zone and is still useful | Design a cut-out or access opening in the console | Avoids electrical work and wall repair |
| Socket sits behind the console but is not needed | Cover with a removable back panel | Keeps maintenance access |
| Socket is in the wrong place for a planned lamp or charger | Ask the electrician to relocate it before furniture arrives | Cheaper than compromising the design |
| Old wall fixings conflict with the new bracket line | Shift the fixing position or use a rail | Avoids weakening the wall near old holes |
Any electrical change must be carried out by a qualified electrician under local regulations. Furniture should never be used to hide a point that needs inspection or repair.
Step 3: Design the console around the services
Once you know what stays, the console can be shaped to suit it. Several approaches work well, and the right one depends on how visible the service is and how often it is used.
Cut-outs and grommets
If a socket sits within the footprint of the top or back panel, a cut-out lets the plug pass through while keeping the piece close to the wall. The opening must be sized for the actual plug type used in the destination country, and its edges should be sealed so the finish stays protected.
Offset or split back panels
A back panel with a removable section gives access to a socket without moving the whole piece. This suits hotels where maintenance teams need to check electrical points over time.
Adjusting height and depth
Sometimes a small change to console height or depth clears a socket entirely. A slimmer depth or a lower top may avoid the point, though you should check proportions and function first. Our related guides on console dimensions and narrow depths cover the limits in more detail.
Using the socket as a feature
A well-placed socket can serve a table lamp, a charging point or a small illuminated display. If the existing point sits at a useful location, build the function around it instead of hiding it.
Step 4: Plan wall fixings for old walls
Wall fixing is where renovation conditions bite hardest. Old plaster may be soft, tiles may sit behind panelling, and previous fittings leave holes that weaken the substrate.
- Identify the wall construction before choosing fixings, and confirm it on site where possible.
- Avoid drilling close to old holes, cracks or visible repairs.
- For wall-mounted or anchored pieces, a continuous hanging rail spreads the load better than two isolated points.
- Ask the factory to mark the fixing positions on the shop drawing so the contractor can verify them against hidden services.
Fixing hardware is usually selected on site according to the wall type. Agree who supplies it and which wall types the drawing assumes. If your walls differ from that assumption, tell the factory early.
Step 5: Allow for uneven walls and floors
Refurbished buildings rarely have perfectly straight walls. A console that touches the wall along its full length will show gaps where the wall bows.
Practical details that help:
- Adjustable feet or levelling glides to compensate for floor variation.
- A small scribe strip or recessed back edge that can be trimmed or hidden against an irregular wall.
- A skirting notch or a set-back from the wall to clear the skirting projection.
- Generous tolerance in niches and alcoves, so the piece can be installed without forcing.
It is better to design a controlled gap than to rely on tight fits that depend on perfect conditions.
Step 6: Turn the survey into a clear brief
A factory can only design around what it knows. A complete package for each console type should include:
- A dimensioned sketch of the wall showing sockets, switches, skirting and fixing zones.
- Photographs with scale references.
- The plug and socket standard used in your country.
- The wall construction type.
- Desired console size, material, finish and any functions such as lighting or charging.
- The number of locations and how much they vary.
Hand sketches, CAD files and PDFs are all workable, as long as the dimensions are clear. If you have only photos at first, we can review them and point out what additional measurements are needed before a reliable quotation is possible.
Step 7: Approve with a sample or mock-up
In a renovation, a sample proves two things: that the finish and construction meet your expectations, and that the piece actually fits the real wall. Install it on one of the worst-case locations rather than the easiest one.
When reviewing the sample, check:
- Cut-outs align with the existing sockets and the plug fits comfortably.
- The piece sits level and close to the wall despite the skirting and floor variation.
- Access panels open without damaging the finish.
- The fixing points avoid hidden services and suit the wall type.
- Doors, drawers and adjacent furniture still have enough clearance.
Record any changes on the drawing, and have the revised version signed off before production starts.
Common renovation mistakes to avoid
- Ordering from architectural drawings without measuring the actual walls.
- Covering sockets permanently with no access.
- Assuming every room in an older hotel has identical dimensions.
- Leaving fixing decisions to the day of installation.
- Treating electrical relocation as a furniture issue rather than a coordinated trade task.
Coordinating trades and timing
Renovation schedules are tight, and furniture often arrives while other trades are still finishing. Agree the sequence in advance: electrical changes first, wall repair and painting next, then furniture installation. If the console needs a relocated socket, confirm that the work is complete before delivery, so installers are not forced to improvise.
Lead time depends on the design, materials, finish and approval process, so it should be linked to your refurbishment programme rather than assumed. For overseas projects, discuss shipping terms and delivery sequence early, so pieces arrive in the order rooms or floors are ready.
Conclusion
A successful retrofit furniture layout respects what the building already offers. Survey carefully, decide which services stay, design cut-outs and access into the console, and approve the result on a real wall before production. This keeps the refurbishment on schedule and the finished corridors, lobbies and rooms looking intentional.
If you are planning a hotel renovation, send us your wall sketches, photographs or drawings. We will review the conditions and come back with design suggestions and a quotation for your project.
Sıkça Sorulan Sorular
Can a console table be built around existing wall sockets?
Yes. A factory can add cut-outs, grommets or removable back panels so that sockets remain usable and accessible. You need to supply accurate socket positions, the plug type used in your country and wall measurements, so the openings are sized and placed correctly in the drawing.
Should I move sockets or change the console design?
It depends on the location and how the piece will be used. If a small change in height, depth or cut-out solves the conflict, adjusting the console is usually simpler. If the socket blocks a key function, ask a qualified electrician to relocate it before furniture is installed.
How do I fix a console to an old or uneven wall?
First identify the wall construction and avoid old holes and hidden services. A continuous hanging rail often spreads load better than isolated points. Add levelling feet and a scribe or set-back detail for uneven surfaces, and have the contractor confirm fixings on the shop drawing.
What information does a factory need for a renovation console?
Provide a dimensioned wall sketch showing sockets, switches, skirting and fixing zones, photographs with scale, wall type, plug standard, and your preferred size, material and finish. If rooms vary, include measurements from several locations so the factory can group them into variants.
Do I need a sample for a renovation project?
A sample is strongly advisable because it checks both finish quality and fit against a real wall. Install it in the most difficult location, such as one with an awkward socket or uneven wall, then record any changes on the drawing before production begins.
Every hotel project is different. Send us your drawings or room schedule for a tailored proposal on materials, lead time and shipping.