Custom Console Table Manufacturing: From Reference Photo to Production Drawing
A practical walk-through of how a reference image or designer sketch becomes a priced, drawn and approved console table. Learn what to send, what happens at each stage and where projects usually lose time.
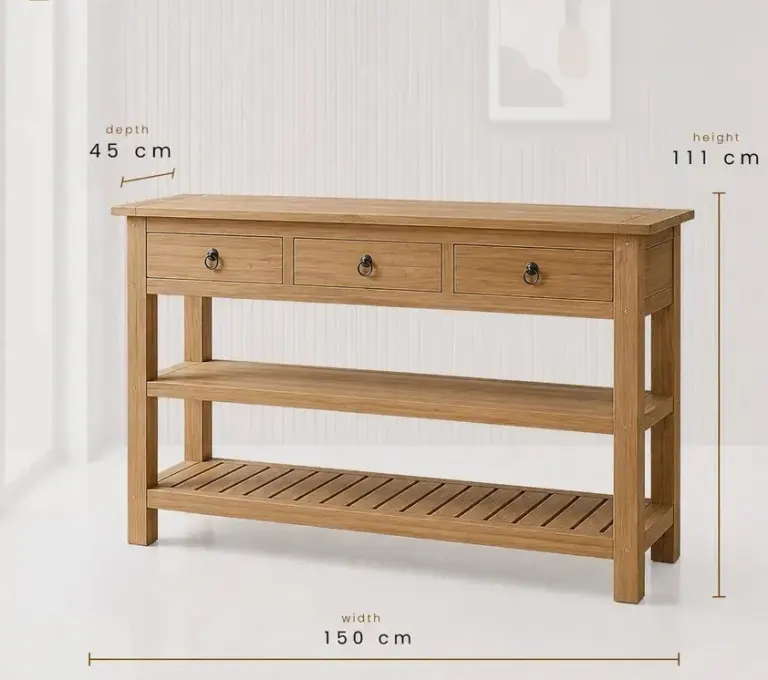
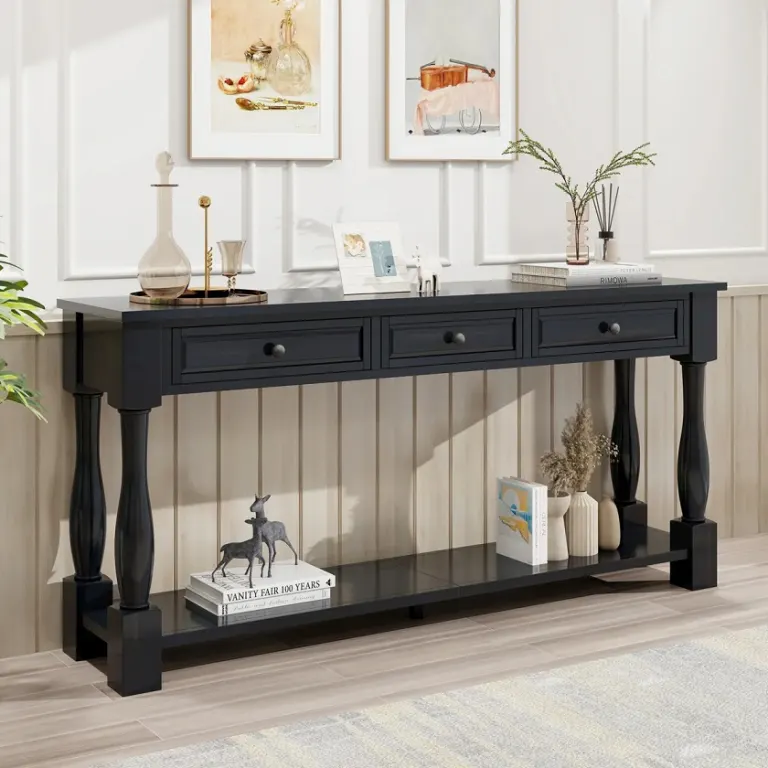
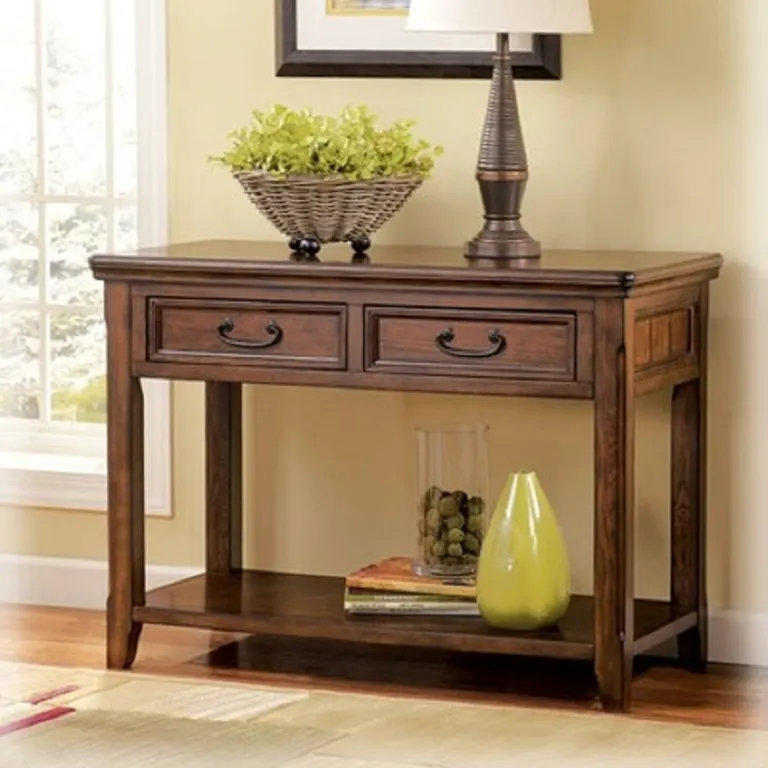
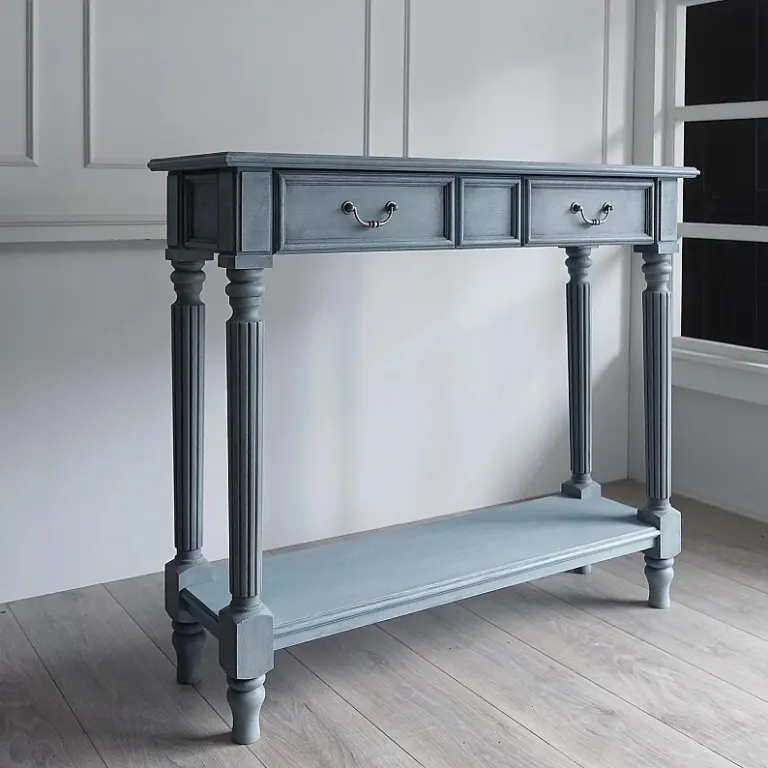
If you have a photo of a console table you like, or a sketch from your design team, a good custom console table manufacturer can turn it into a priced, drawn and approved piece ready for production. The process is not magic, and it is not instant. It follows a clear sequence of questions, estimates and approvals, and the more you understand it, the faster and cheaper it runs.
This guide walks through that sequence as we handle it at Palmiye, from the first image you send to the signed-off production drawing. We build to order for hotel, restaurant and residential projects and ship worldwide, so the steps below are written for buyers who may never visit the factory.
Step 1: Send a brief the factory can actually use
A reference photo shows style, but it rarely shows size, material or construction. The first job of the factory is to fill those gaps, and you can save a week of emails by answering the basics up front.
A useful starting brief includes:
- Reference images: two to four photos from different angles, plus a note on which features matter (leg shape, top edge, drawer, proportions).
- Target dimensions: length, depth and height in millimetres (inches in brackets are welcome). For example, 1200 x 350 x 800 mm (47.2 x 13.8 x 31.5 in).
- Quantity: the number of pieces, and whether sizes or finishes vary between them.
- Material and finish direction: solid oak, walnut veneer, lacquer, a stone top, or simply "warm natural wood" if you are still deciding.
- Location and use: guest room, lobby, corridor or restaurant entrance, and the destination country.
If you only have a mood board or a rough hand sketch, that is acceptable. Just tell us which parts are fixed and which are open to interpretation.
Step 2: Technical interpretation of the image
A photo hides most of the engineering. Our technical team reads the image for the things that decide cost and durability: how the top connects to the legs, whether the top is solid or built up from panels, where drawers or shelves sit, and how thick each element appears relative to the overall size.
At this stage we usually come back with a short list of questions and assumptions. Typical ones include:
- Is the top a single solid slab, or can it be veneered board with solid edging?
- Should the piece stand on the floor, or be fixed to the wall?
- Are there any cable, lighting or charging requirements?
- Does the photographed piece have details (carving, inlay, metal trim) that you want reproduced exactly or only suggested?
This is also the moment to be honest about what a photo cannot show. Exact wood colour, grain pattern and finish sheen will always be confirmed later by physical samples, not by an image on a screen.
Step 3: The first estimate
Once the design intent is clear, you can expect an indicative quotation. It is called indicative because it depends on assumptions that will be locked in the drawing stage. We do not quote from a photo alone without asking questions, because a number given without them is usually a number that changes later.
The main factors behind a console table price are:
- Timber species or veneer grade, and whether the piece is solid or engineered.
- Top construction, thickness and edge profile.
- Complexity of the legs or base, such as turned, curved or carved elements.
- Number of drawers, doors, shelves and the hardware used.
- Finish system and the number of coats or colour steps.
- Quantity, because tooling and setup are shared across the batch.
- Packing method and shipping terms such as EXW, FOB, CIF or DAP.
Prices and lead times depend on the project, so we give them per project rather than as general figures. If your budget is fixed, tell us early; we can often suggest adjustments in material or construction that protect the look while controlling cost.
Step 4: From photo to shop drawing
This is the stage where the piece becomes a real, buildable object. A console shop drawing is the document that both sides sign up to, and it replaces the ambiguity of the original image.
A proper drawing set normally includes:
- Front, side and plan views with all key dimensions.
- Sections through the top, legs and any drawers or shelves.
- Joinery details showing how parts connect, such as mortise and tenon, dowels or hidden fixings.
- Material and finish notes naming the species or veneer, edge treatment and coating type.
- Hardware schedule listing runners, hinges, levelling feet or wall brackets.
- Tolerances and fixing notes for wall contact, skirting clearance and floor levelling.
Read the drawing carefully before you approve it. Check that overall dimensions match your room or niche, that the height suits the adjacent furniture, and that any socket or cable position lines up with the electrical plan. A mistake found on paper costs almost nothing; the same mistake found in a finished batch is expensive.
Step 5: Samples and finish approval
Drawings fix the shape, but not the colour or feel. For finishes, we recommend approving a physical sample in the wood and coating you have specified, and viewing it under the lighting of the actual hotel or restaurant. Daylight, warm lamps and cool LEDs can all shift how a wood tone reads.
Depending on the project, approval can take one of several forms:
- A small finish sample or stain card to settle colour and sheen.
- A door-size or panel sample when grain and large-surface appearance matter.
- A full prototype of the console when the design is new, complex or ordered in large quantity.
For a single simple model, a finish sample may be enough. For a signature piece repeated across many rooms, a complete prototype is usually a sensible investment, because it lets you check proportions, stability and details in person before production begins.
Step 6: Freezing the specification
After the drawing and sample are approved, the specification is frozen. That means dimensions, materials, finish code, hardware and quantity are written down and signed off. From this point, changes are still possible, but they may affect cost, lead time or both, so they should go through a clear change process.
We recommend keeping a short approval record that lists the drawing revision number, the approved sample reference and the date. When you are managing several furniture items and several suppliers, this single page prevents a lot of confusion later.
Step 7: Production, inspection and export packing
With the specification locked, the pieces move into production in our Istanbul factory: timber preparation, machining, assembly, sanding, finishing and quality checks. Because the console is made to your drawing, the checks compare the finished piece against the approved dimensions and the signed sample.
Before shipment, you can ask for photos or a short video of the finished batch. Export packing is then planned to suit the pieces: protected corners, wrapped tops and legs, and sturdy crates or cartons for sea, road or air freight. Delivery terms and routes depend on your destination, so we agree them with you before production ends.
Common reasons projects slow down
Most delays are not caused by the factory; they come from information arriving late or changing. Watch for these:
- Dimensions that change after the drawing is approved.
- Finish decisions postponed until after production has been scheduled.
- Missing fire or material requirements for the destination country.
- Unclear delivery address, site access or unloading conditions.
Settling these points in the brief and drawing stages keeps the schedule predictable.
Ready to start?
If you have a reference photo, sketch, mood board or CAD file, send it with the approximate size, quantity and destination. We will review it, ask the necessary questions and come back with an indicative quotation and the drawings needed for your approval. A short, clear brief is all it takes to begin.
Sıkça Sorulan Sorular
Can you make a console table from just a photo?
Yes, a photo is a good starting point. We will ask about dimensions, materials and construction, then prepare a drawing for your approval. Exact colour and finish are confirmed later through samples, since a photo cannot show them accurately.
What files can I send for a quotation?
You can send photos, hand sketches, mood boards, PDFs or CAD files. The more clearly you state dimensions, quantity, material preference and destination country, the faster we can prepare an accurate quotation.
Do I need to approve a drawing before production?
Yes. The shop drawing is the document both sides agree on, covering dimensions, joinery, materials and finish. Production starts only after you approve it, so check sizes and details carefully before signing off.
Is a prototype always necessary?
Not always. For a simple model, a finish sample and drawing may be enough. For a new or complex design, or a large repeated batch, a full prototype helps you check proportions and details before mass production.
Can you ship a made to order console abroad?
Yes. We produce to order and ship worldwide. Packing and delivery terms such as FOB, CIF or DAP are agreed with you in advance, and the best option depends on your destination and project schedule.
Every hotel project is different. Send us your drawings or room schedule for a tailored proposal on materials, lead time and shipping.