How to Photograph a Wooden Console Table for a Factory Quote: A Practical Shot List
A factory can only quote what it can see. This shot list shows which angles, close-ups and measurements to capture so your wooden console table can be priced accurately.
If you need to photograph furniture for a quote, the goal is simple: give the factory enough visual and dimensional information to understand construction, materials and finish without guessing. A console table looks like a simple piece, but legs, top thickness, edge profile and joinery all affect price. The shot list below helps you capture what an estimator actually needs.
We receive enquiries from hotel owners, designers and contractors around the world, and many start with a single image from a magazine or a showroom. That is a useful starting point, but a few extra photographs and measurements shorten the quotation process considerably.
Why photographs matter for a quotation
When you send console table reference images, the estimator reads them for information that is not obvious to the eye. They look at how the top meets the legs, whether the edges are square or rounded, and whether there are hidden drawers or shelves. Each of these points changes the material quantity, machining time and finishing steps.
Clear photographs also reduce back-and-forth emails. Instead of asking ten questions, the factory can ask two or three, and you receive a more reliable first estimate. Note that a photo-based quote is always an estimate: final pricing is confirmed after drawings and a sample are approved.
Before you start: simple preparation
Good reference photos for a manufacturer do not need a professional camera. A modern phone is enough if you prepare the setting.
- Clear the surface. Remove lamps, vases and books so the real shape of the top is visible.
- Move the piece away from the wall if possible, so you can show the back and sides.
- Use soft, even light. Daylight from a window, without direct sun, shows wood colour and grain more truthfully than a flash.
- Keep the lens level. Hold the phone at the height of the object, not looking down from above, to avoid distorted proportions.
- Place a ruler or tape measure in the frame for at least some shots to give a visual scale.
The core shot list: angles for a furniture quote
These are the angles for a furniture quote that we find most useful. Aim for the full set; if you can only take a few, prioritise the first four.
1. Straight front view
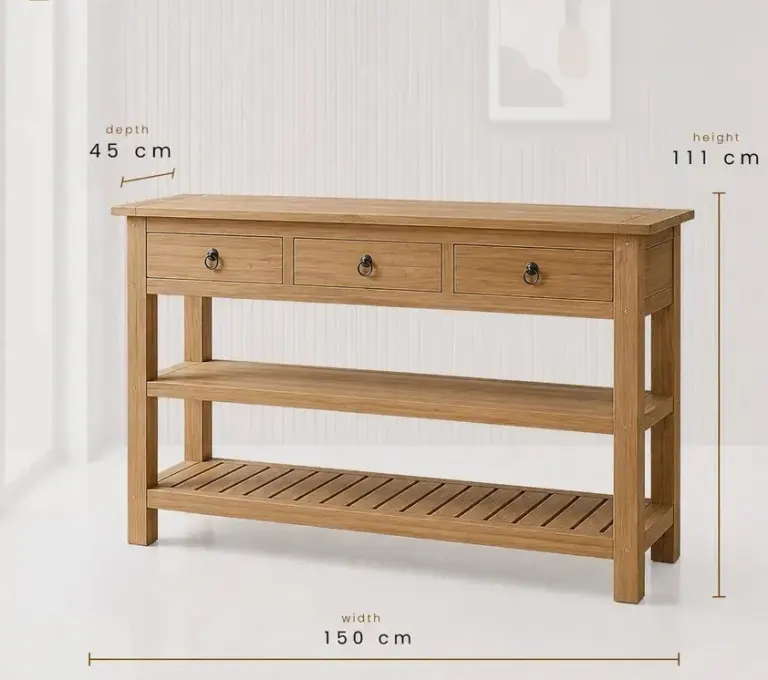
Stand directly in front of the table with the camera at mid-height. The entire piece should fit in the frame with some space around it. This shot shows proportions, leg spacing and any door or drawer layout.
2. Straight side view
Take a true side profile. It reveals depth, leg shape, any taper or splay, and how far the top overhangs the base. For slim models, this view is often the most informative.
3. Three-quarter view
Stand at roughly 45 degrees and photograph from a slightly raised position. It combines front and side and gives a general impression of the design, which helps the estimator judge complexity.
4. Top view
If possible, photograph from directly above. It shows the top shape: rectangular, rounded corners, curved or demilune. Curves and shaped tops need different machining and are priced differently from straight panels.
5. Back view
The back panel tells the factory whether the piece is open, closed or panelled, and whether it is designed to sit flat against a wall. Include any cut-outs for cables.
6. Underside and leg-to-top connection
Look at the table from below or tilt it carefully. Capture the rails, brackets or fixings that join legs to top. This is where much of the construction cost and the long-term stability come from.
Close-ups that change the price
Details are where two similar-looking tables diverge in cost. Take these close-ups with the ruler visible.
- Top edge profile: a close shot of the edge from the side, showing whether it is square, bevelled, rounded or has a waterfall detail.
- Top thickness: photograph the edge with a ruler held against it.
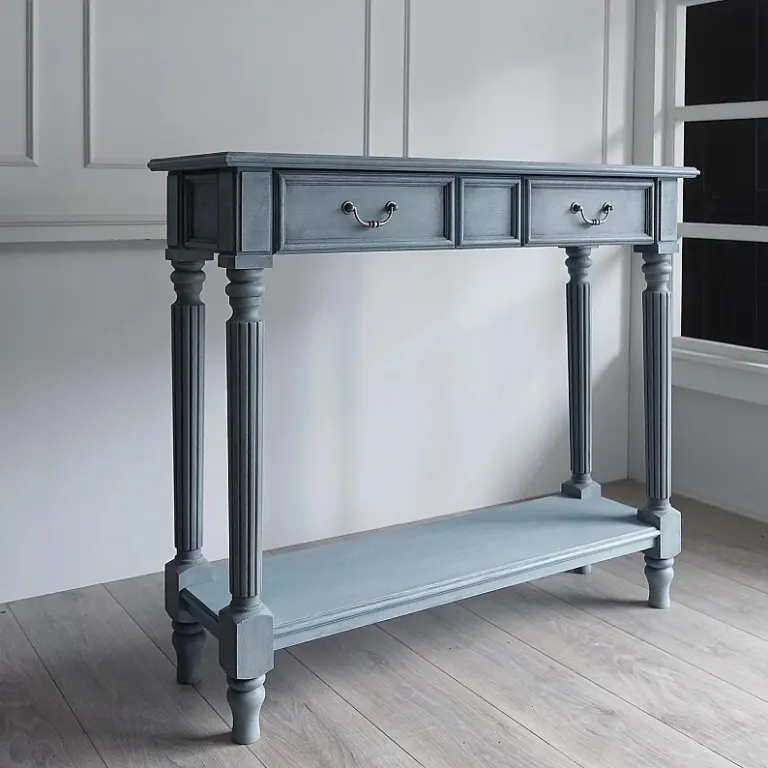
- Leg shape: a close-up of the foot and the upper section, showing taper, turning, fluting or carving.
- Wood grain and colour: a close shot of the surface in even light, without filters.
- Hardware: handles, hinges, runners and locks, if present.
- Drawer or door interior: open each one and photograph the inside, including the runner type and the box construction.
- Decorative elements: inlay, metal trim, stone or glass inserts, which may be sourced or produced separately.
Measurements to record alongside the photos
Photographs alone cannot give exact sizes. Add a simple list of measurements, in millimetres or centimetres, with inches in brackets if your team works in imperial units, for example 80 cm (31.5 in).
| Measurement | What to record |
|---|---|
| Overall height | Floor to the highest point of the top |
| Overall length | Widest point, left to right |
| Overall depth | Front to back, including any overhang |
| Top thickness | Measured at the edge |
| Top overhang | Distance from the leg or base to the top edge |
| Leg section | Width and depth of the leg at top and foot |
| Lower shelf or drawer | Height from the floor and internal clear size |
If you are not photographing a physical sample but a catalogue image, state the dimensions you want, even if they are approximate. The factory can then scale the design and tell you if proportions need adjusting.
What else to include in your message
Photographs and measurements work best with a short written brief. Include the points below so the estimator does not have to ask.
- Quantity, and whether it is a single design or several sizes.
- Preferred wood species or veneer, and the target finish: natural oil, stain, lacquer or colour code.
- The room type or location, such as a lobby, corridor, suite or restaurant entrance.
- Any fire, moisture or load requirements from the project specification.
- Delivery country and preferred shipping terms, for example FOB or DAP.
- Target dates linked to your construction or opening programme.
Common mistakes to avoid
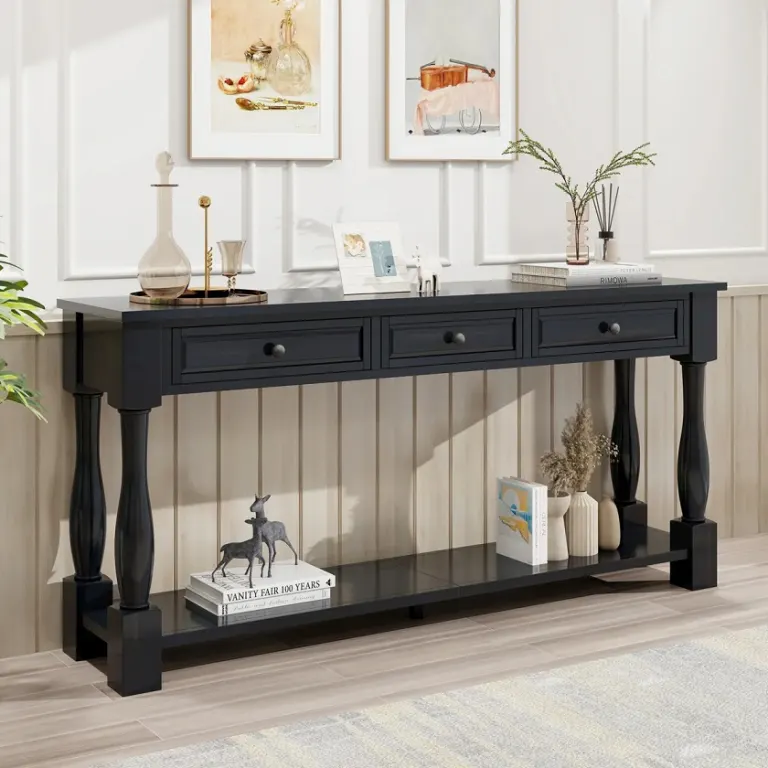
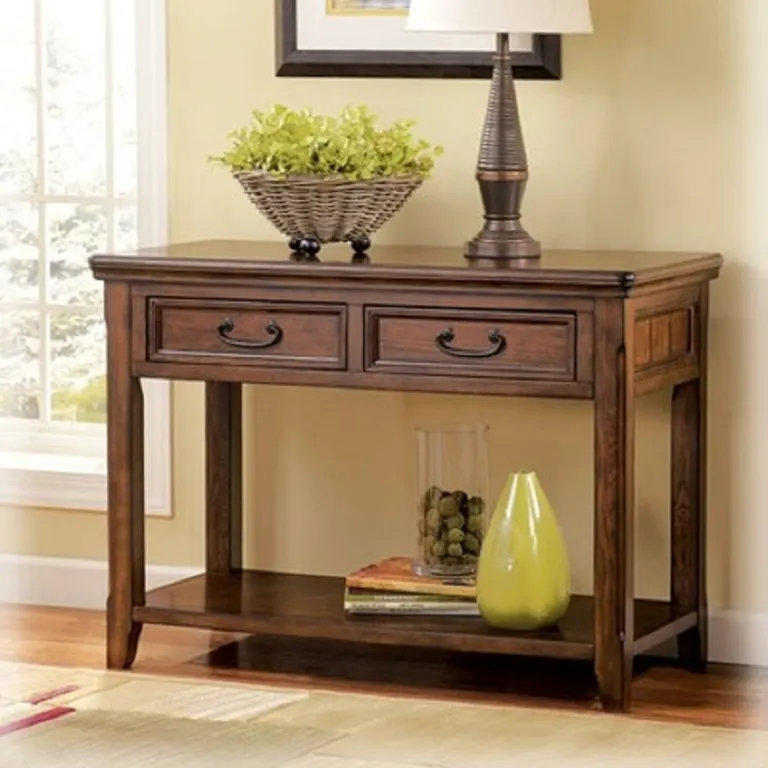
- Only sending a styled lifestyle photo. Accessories hide the real construction.
- Heavy filters or strong flash. They change wood colour and hide grain.
- Cropped images. Always include the whole piece in at least one frame.
- Mixed photos of different tables. Label each image if you are sending several references.
- No scale. Without a measurement or ruler, proportions are guesswork.
If you only have a catalogue image or mood board
Sometimes there is no physical table to photograph. In that case, send the best available images from several angles, mark which features you like or want to change, and add your required dimensions. A factory can interpret a design from references, but it will flag assumptions and suggest a sample or drawing to confirm them before production.
What happens after you send the images
The estimator reviews the photographs, compares them with your measurements and brief, and prepares a first estimate. Cost depends on the timber or veneer, the complexity of the base, the finish and the quantity, so the estimate will usually come with notes on assumptions. The next steps are normally shop drawings, a finish sample and, for larger orders, a prototype to approve before mass production.
Next step
If you have a console table in mind for a hotel, restaurant or residential project, send us your photographs, measurements and quantity. We will review them, tell you what is clear and what needs confirming, and come back with material suggestions and an estimated schedule for delivery to your country.
Sıkça Sorulan Sorular
How many photos do I need to send for a console table quote?
Eight to twelve images are usually enough: front, side, three-quarter, top, back, underside, plus close-ups of the edge, legs, grain and any hardware. If you can only send a few, prioritise the front, side, top and one close-up of the edge profile.
Can a factory quote from a single photo?
It can give a rough indication, but not a reliable price. A single image hides depth, thickness, joinery and the back of the piece. Adding a second angle and basic dimensions makes the estimate far more dependable.
Do I need to include measurements with the photos?
Yes. Photographs show shape but not exact size. Provide height, length, depth, top thickness and leg section in millimetres or centimetres. If you only have a catalogue image, state the dimensions you want and the factory will adapt the proportions.
What if I only have a magazine picture or mood board?
Send it with your target dimensions, preferred wood and finish, and notes on what to keep or change. The factory can interpret the design, list its assumptions and propose shop drawings or a sample to confirm details before production.
Is a photo-based quotation final?
No. A quotation from images is an estimate. The final price is confirmed after drawings, materials, finish and quantity are agreed, and usually after a sample is approved. Changes to specification after that point can affect cost and lead time.
Every hotel project is different. Send us your drawings or room schedule for a tailored proposal on materials, lead time and shipping.